
Going to the ADVANCED SETTINGS tab will give you some more options.
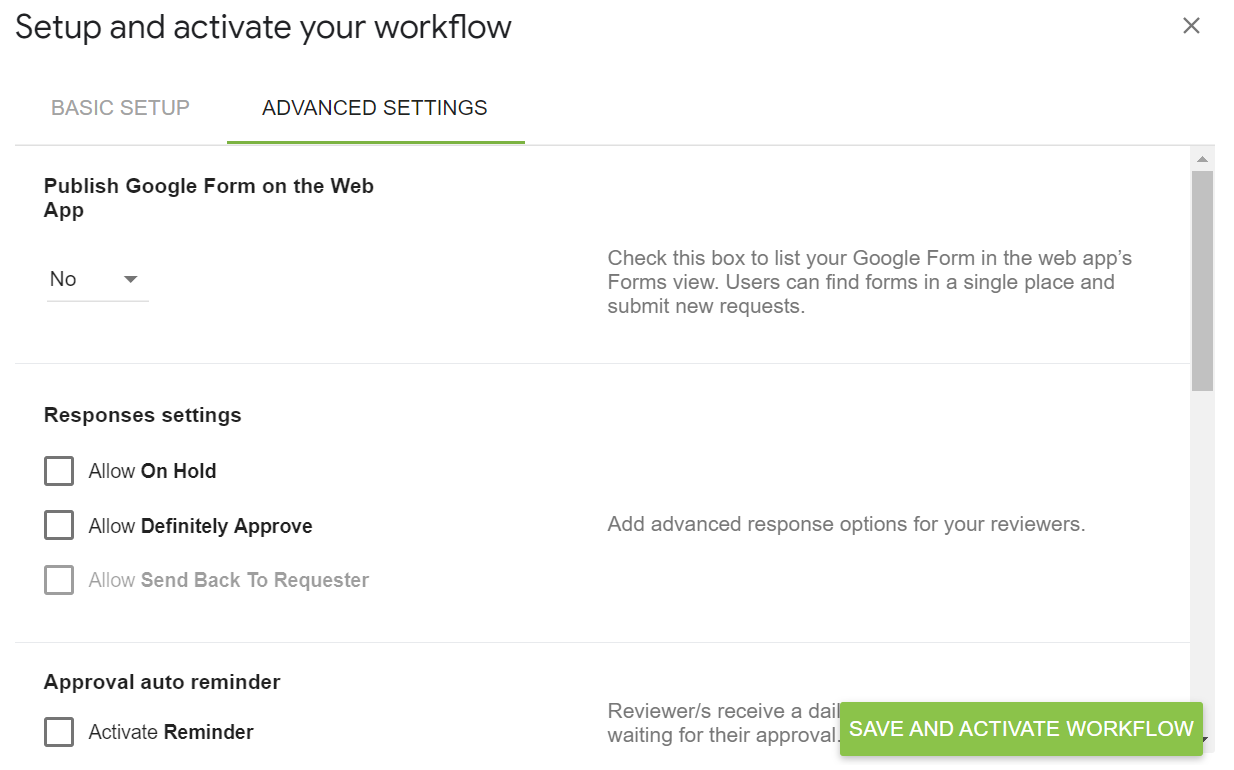
1. Publish Google Form on the Web App
This allows the form to be published on the Form Workflow Plus web app's Forms view. Users can find all published forms in a single place by logging in to the web app. They can search for available forms and fill up requests from there.
2. Responses settings
=> Tick "Allow on Hold" to authorize reviewers to put requests on hold
=> Tick "Final Approval" to allow reviewers to definitely approve a request. This can be useful to allow reviewers to fast track a request, rather than go thru multiple reviewers (if set-up)
=> In order to enable "Send back to Requester" functionality, complete first 2/, then tick "Allow Send back to Requester"
3. Approval auto reminder
Click on "Activate Reminder" for reviewers to be reminded by email once a day of all their pending "Waiting for approval" requests.

4. Final notification
Select a column for the email address/es you want to be notified in cc of the final notification to the requester. Alternatively, you can also select Specific Emails if you have a static list.
5. Calendar event config
You can activate this feature to include a "Save to Calendar" link on the final notification email. This allows requesters to set calendar events based from the request fields.
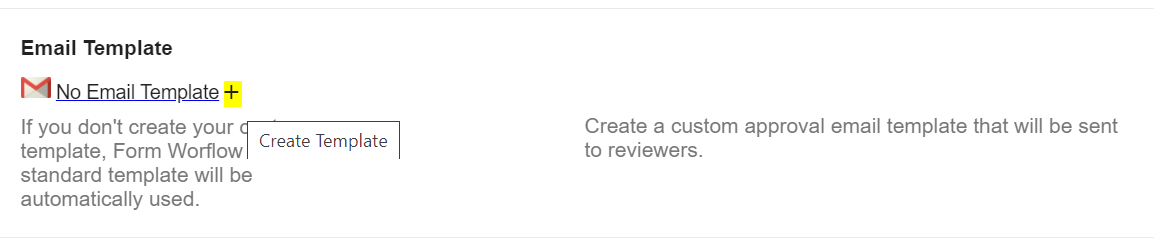
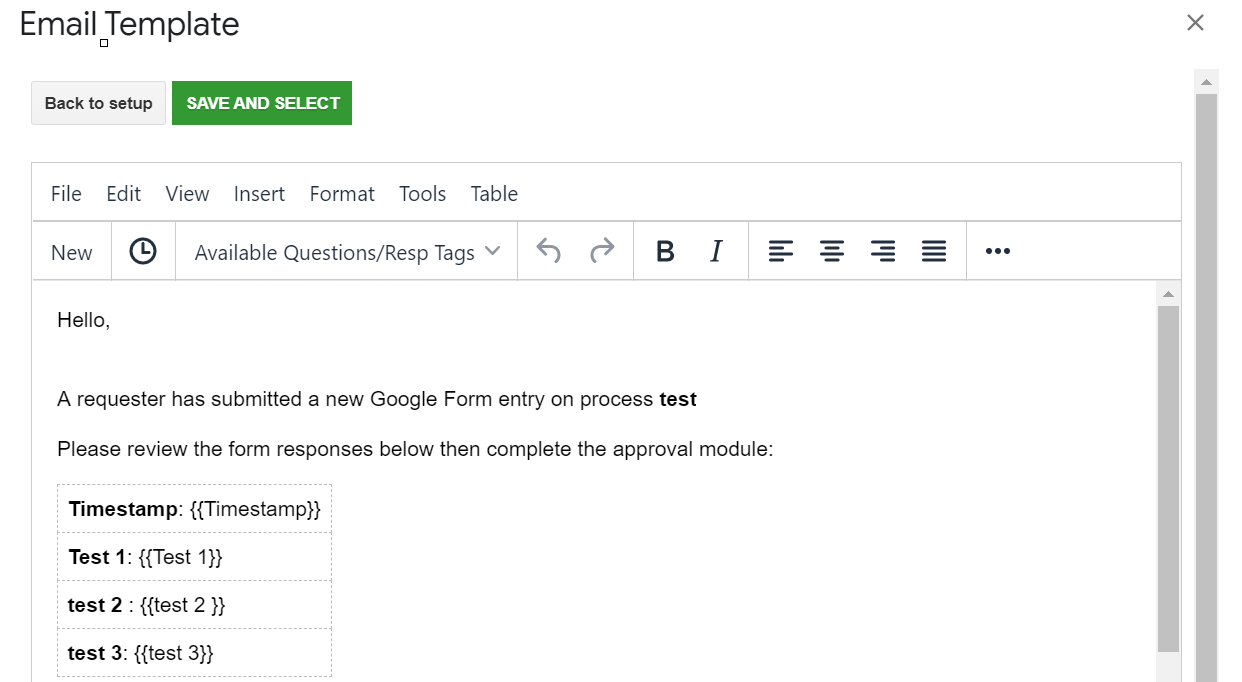
6. Email template
Click on + to personalize your email template.
Choose from the available fields drop down list to personalize your template.
7. Email Language Template
By default Reviewers will receive Request for Approval emails in English. Choose from the drop down menu a language other than English
8. Additional remarks configuration
By default the Reviewer will be able to leave 1 comment in the Approval Module. Here, you can set-up 4 additional remark/comment fields that will only appear to the 1st reviewer. Further information here
==> Why doesn't our workflow notification show proper values?
Comments
0 comments
Please sign in to leave a comment.